HOW TO
Perform At-Home Tests From Lab Me
Depending on the test you order the sample collected will either be finger stick blood, urine or saliva.

Finger Stick Blood
At-home neurotransmitters, heavy metals, sleep distrubance, hormones, and thyroid panels use either urine, saliva or blood.

Urine
The crucial, baseline, executive tests use a patented device that separates blood from plasma ensuring high accuracy.

Saliva
Lab Me was the first in the world to present a CBC test that can be performed using small sample volume analysis.
STEP ONE

Tip
- Read the tips on the other side before you start.
- Fast at least 8 hours, if you have cortisol in your test perform at 8am.
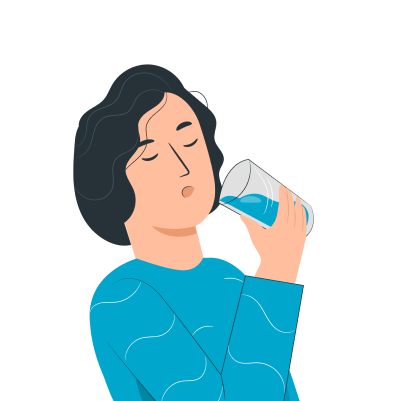
- Ensure you are well hydrated.
STEP TWO
Set Up
- Only open the pouch when you are ready. It must be used within 30 minutes of opening.
- Soak your non-dominant in warm water for 1-2 minutes. Dry it well. It's important your hands are warm.
STEP THREE
Select Finger
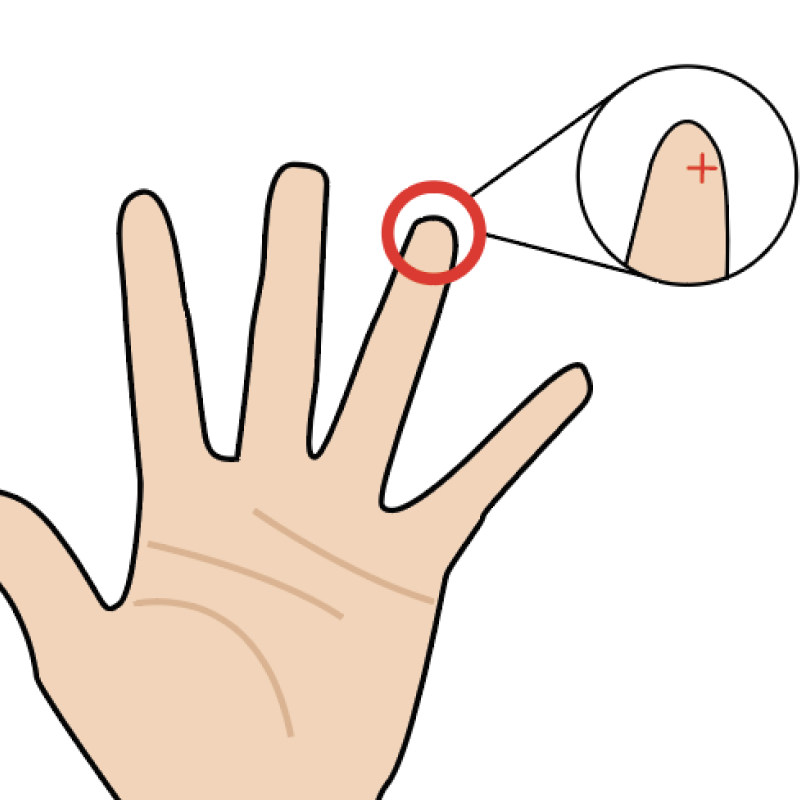
- Wipe the little finger of your non-dominant hand with the alcohol swab and let it dry.
- The best place to use the lancet is on the outer centre of your fingertip.
STEP FOUR

Use The Lancet
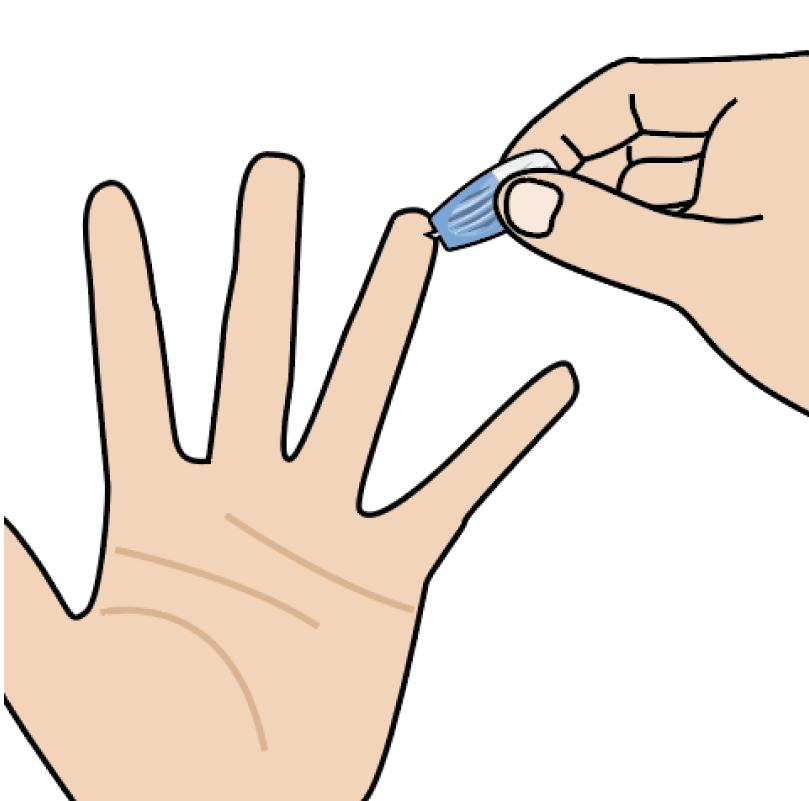
- Twist off the lancet top. Don’t worry, you won’t see a needle.
- Stand up and press the lancet firmly down on your finger.
- Wipe away the first drop of blood with a clean tissue.
STEP FIVE
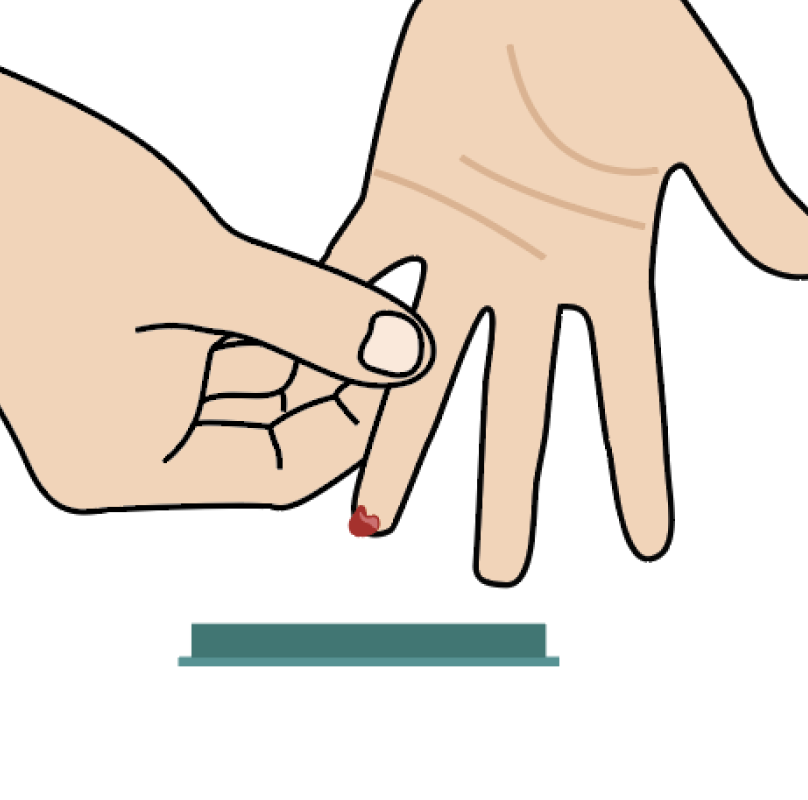
Massage Hand
- Massage down your hand firmly, starting from the palm all the way to the end of your finger making sure not to squeeze on the piercing.
- If the flow stops at any time, you will need to redo with a spare lancet.
STEP FIVE
Massage Hand
- Massage down your hand firmly, starting from the palm all the way to the end of your finger making sure not to squeeze on the piercing.
- If the flow stops at any time, you will need to redo with a spare lancet.
STEP SIX
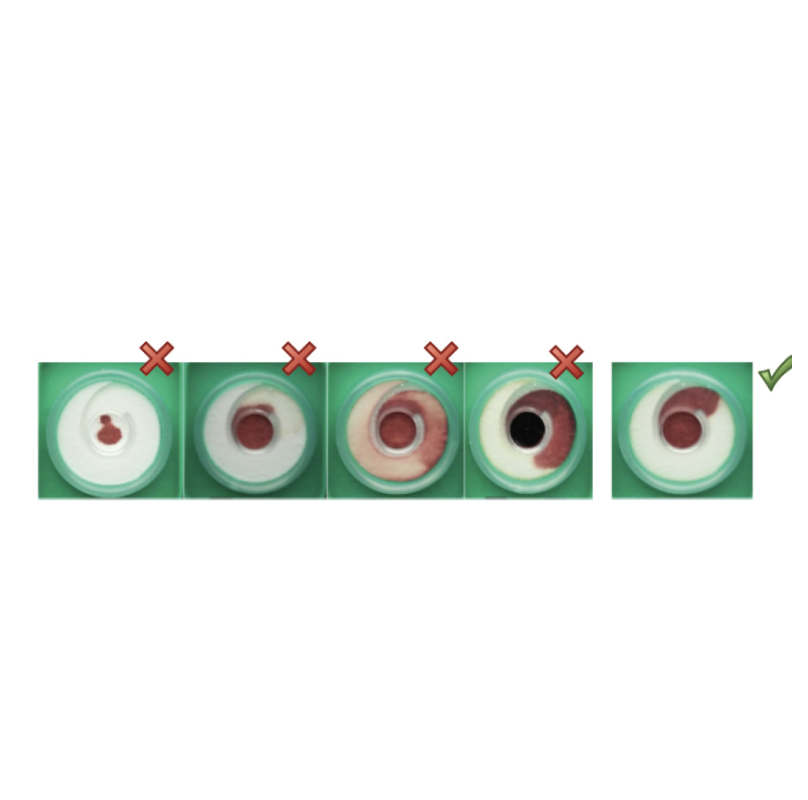
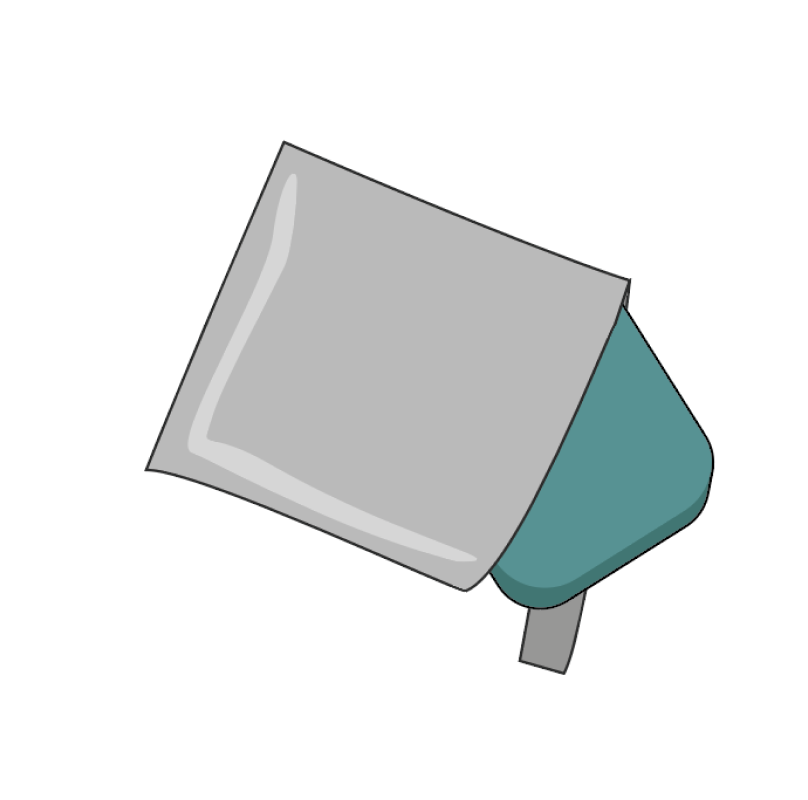
Fill Collection Device
- Apply 4 large drops continously in the center of the clear cover applicator. Do NOT STOP and wait between drops.
- If blood flow stops, you will need to re-pierce with the spare lancet.
- After applying 4 drops, wait 3 minutes for blood drops to soak into the white membrane.
STEP SEVEN

Label and Post
- After 4 drops are absorbed, close the device firmly by folding over the top.
- Make sure the latches are secure. Lay on flat surface.
- Your sample can stay at room temperature before being mailed back to the lab within 24 hours time.
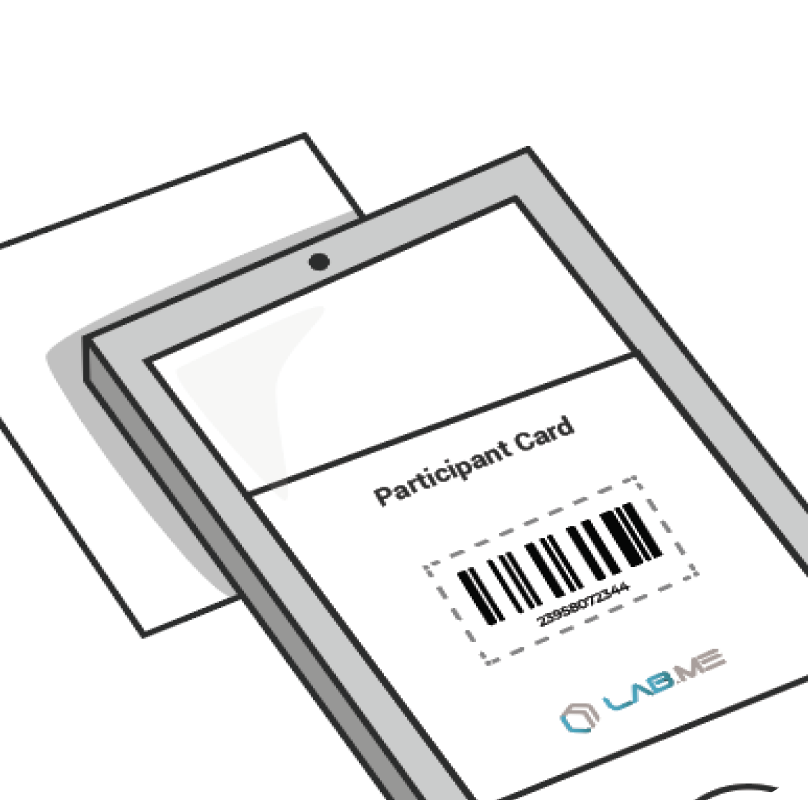
- Ensure everything is filled out properly and take a photo of the UPC label for your records.
STEP ONE
Good Pratice
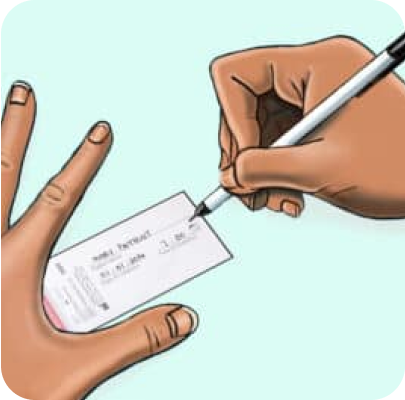
- At each collection time: Remove a collection card from the pink bag.
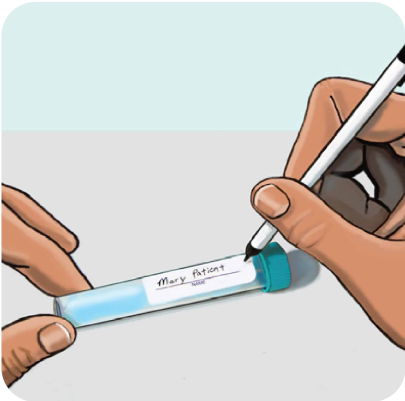
- Save this bag with the absorbent pouch. Write your name, the date and time of collection on the card prior to collecting the sample.
STEP TWO
Set Up To Collect
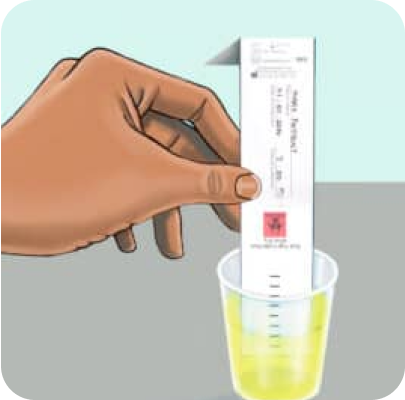
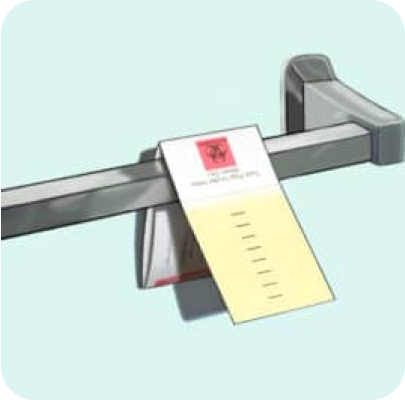
- Open the cover on the collection card. Fold it back and away from the filter paper. Avoid touching the filter paper
- Saturate the filter paper by directly urinating onto it, or by collecting your urine in a clean cup and dipping the filter paper up to the top black dash line
STEP THREE
Dry Sample
- Soak your non-dominant hand in warm water for 1-2 minutes. Dry it well. It's important your hands are warm
- Wipe the little finger of your non-dominant hand with the alcohol swab and let it dry
- The best place to use the lancet is on the outer center of your fingertip
STEP FOUR

After Collection
- Allow to dry completely for at least 6 hours*.
- Once dry, refold the collection card and place the sample back into the baggie and seal.
- Make sure absorvent puch is still inside.
- Follow the same process for the remaining three samples.
STEP FIVE
Finishing Up
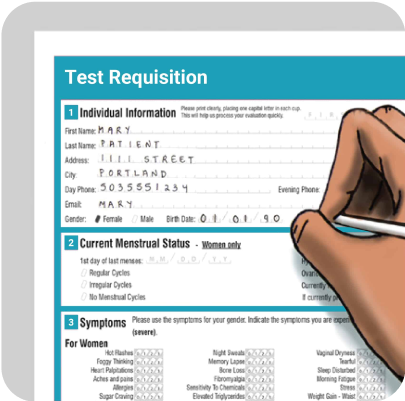
- Complete all paperwork. Make sure all sections are filled in and your form is signed
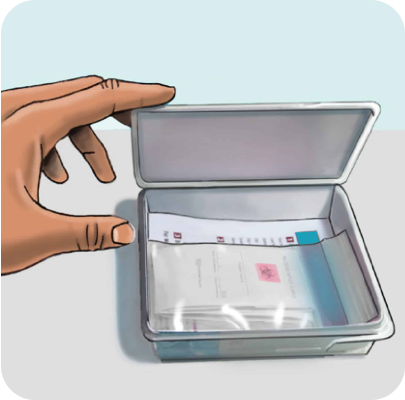
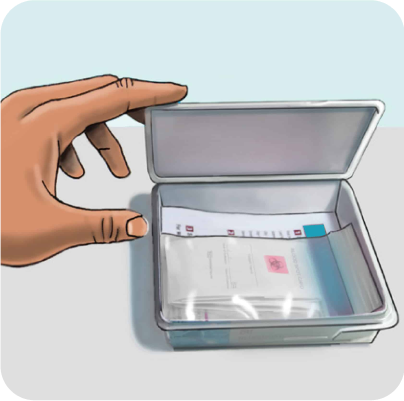
- Place the sample(s), the Test Requisition form and any additional paperwork back into the plastic test kit box
- Make sure to include payment (if applicable)
- Snap test kit lid shut
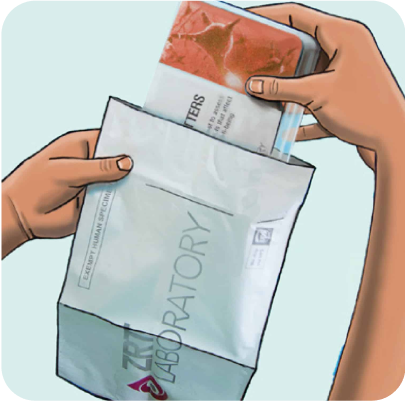
- Place the entire test kit box inside the return packaging
- Affix the prepaid label or postage if applicable
- Return using the appropriate carrier
- Samples will remain stable under average shipping conditions, including over weekends and holidays
Saving Collection
Collection Timetable
# of Tubes
UPON WALKING
Small TubeBEFORE LUNCH
Small TubeBEFORE DINNER
Small TubeBEFORE BED
Small TubeSaliva Profile I, Hormone Trio or LCMS Saliva Steroid Profile
1

AM/PM Cortisol or Saliva Profile II
2
Adrenal Stress Profile, Diurnal Cortisol or Saliva Profile III
4
STEP ONE
Good Practice
- Begin collecting your first saliva sample into the large tube within 30 minutes of waking for the day.
- Wash hands with soap and water
- Rinse your mouth with water
- Wait 5 minutes before beginning collection
STEP TWO
Fill Collection Device
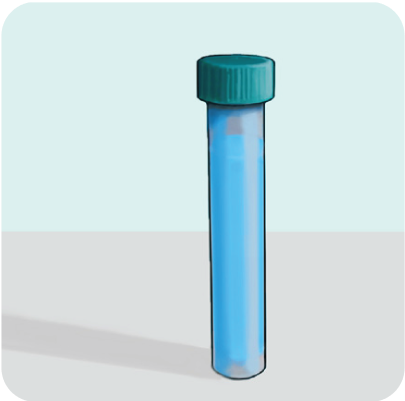
- Allow saliva to pool in mouth, then transfer to tube
- Fill tube at least half full, not including bubbles
- Collection usually takes 15-30 minutes depending on saliva flow
- When done, cap the tube
STEP THREE
Complete
- Write your name, the date and time of collection on the tube
- Place the tube back into the bag
STEP FOUR
Repeat The Process
- Repeat this process for any other collection times using the smaller tubes provided
- Do not eat, drink (except water) or brush teeth at least 2 hours prior to collections
STEP FIVE
Finishing Up
- Complete all paperwork. Make sure all sections are filled in and your form is signed
- Place the sample(s), the Test Requisition form and any additional paperwork back into the plastic test kit box
- Make sure to include payment (if applicable)
- Snap test kit lid shut
- Place the entire test kit box inside the return packaging
- Affix the prepaid label or postage if applicable
- Return using the appropriate carrier
- Samples will remain stable under average shipping conditions, including over weekends and holidays